

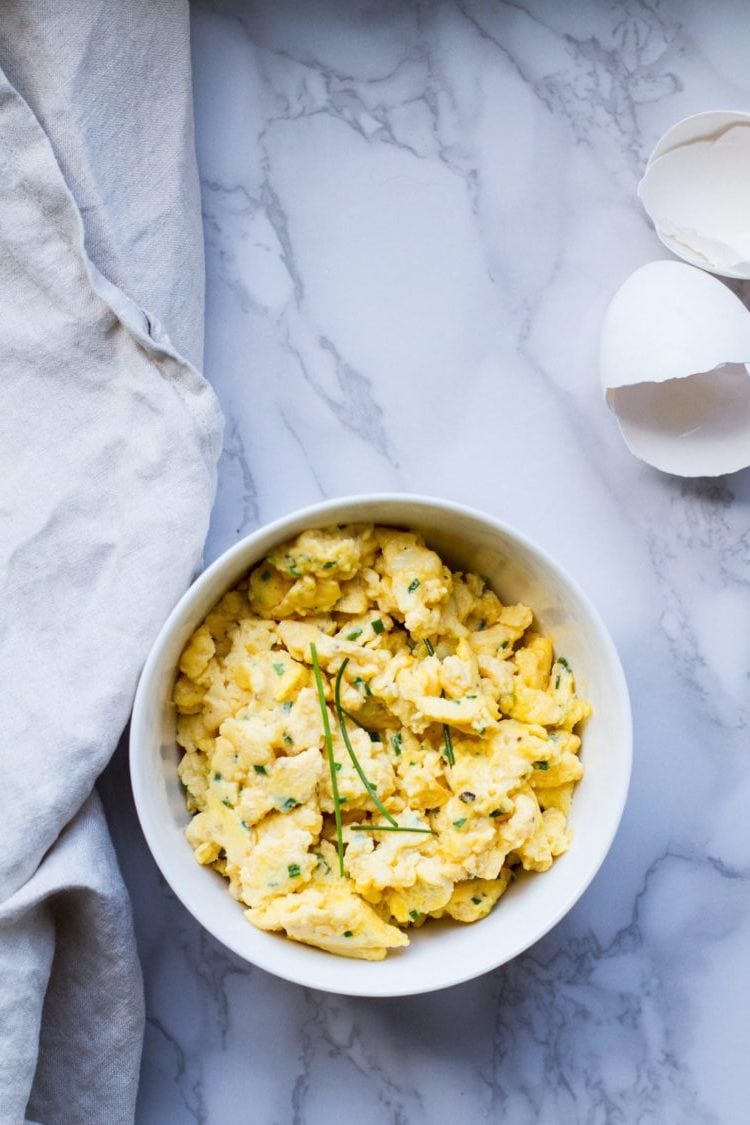
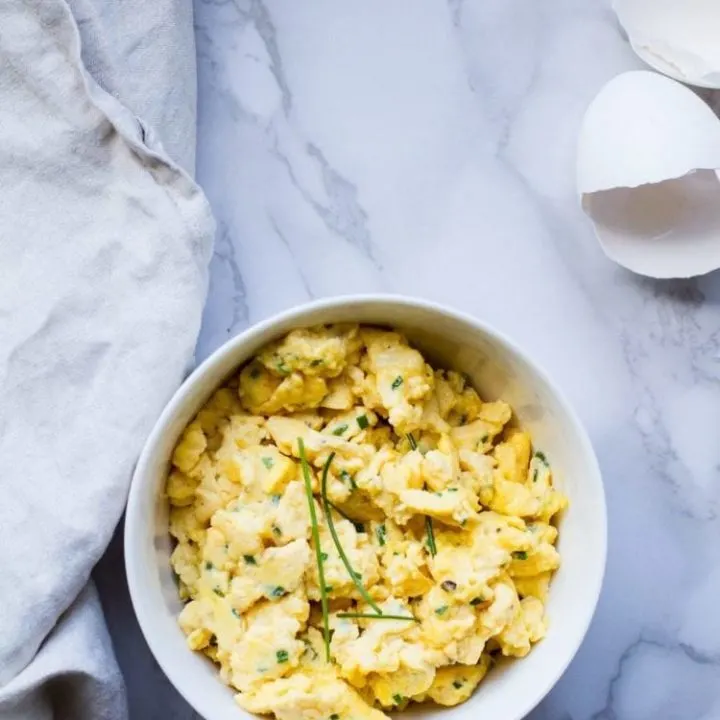
Chives and Cheese Scrambled Eggs - you get a lot of flavor from garlic and chives and a velvety and creamy texture from the milk, butter, and tiny bit of cheese. You can use scrambled eggs in so many settings.
They are great next to smoked salmon, or shrimp and white loaf, on whole-grain bread after a good workout, or on the Christmas breakfast table. You can eat it anytime.
Whenever we want to make breakfast extra special, I usually bring this + perfect every time bacon (see below). Maybe even bake my own whole wheat bread rolls.
I usually eat it in bread form (no recipe for this yet, it's my parents' recipe, and unsure if I can share it, haha...) but my whole wheat bread rolls are kind of the same deal. They are awesome with these chives and cheese scrambled eggs.
And if you fancy a sunny-side-up instead, why don't you try this easy green shakshuka with pesto eggs or Spanish chorizo shakshuka? They are done in less than 20 minutes of hands-on time, and feel so special but can be served even on a hectic weekday! For poached eggs, go for this 15-minute Cilbir recipe.
Or for an omelet - this kimchi omelet is full of bold flavors and delicious broccolini!
Step-by-step instructions
You want high-quality, large free-range eggs. Crack them in a small bowl and whisk vigorously together. I know not everyone thinks you should whisk before they hit the pan, but this works for me and this is my recipe, so. Go on, whisk.
Add in a splash of milk, finely chopped fresh chives, salt, pepper, and a little garlic powder. Wait with the cheese.
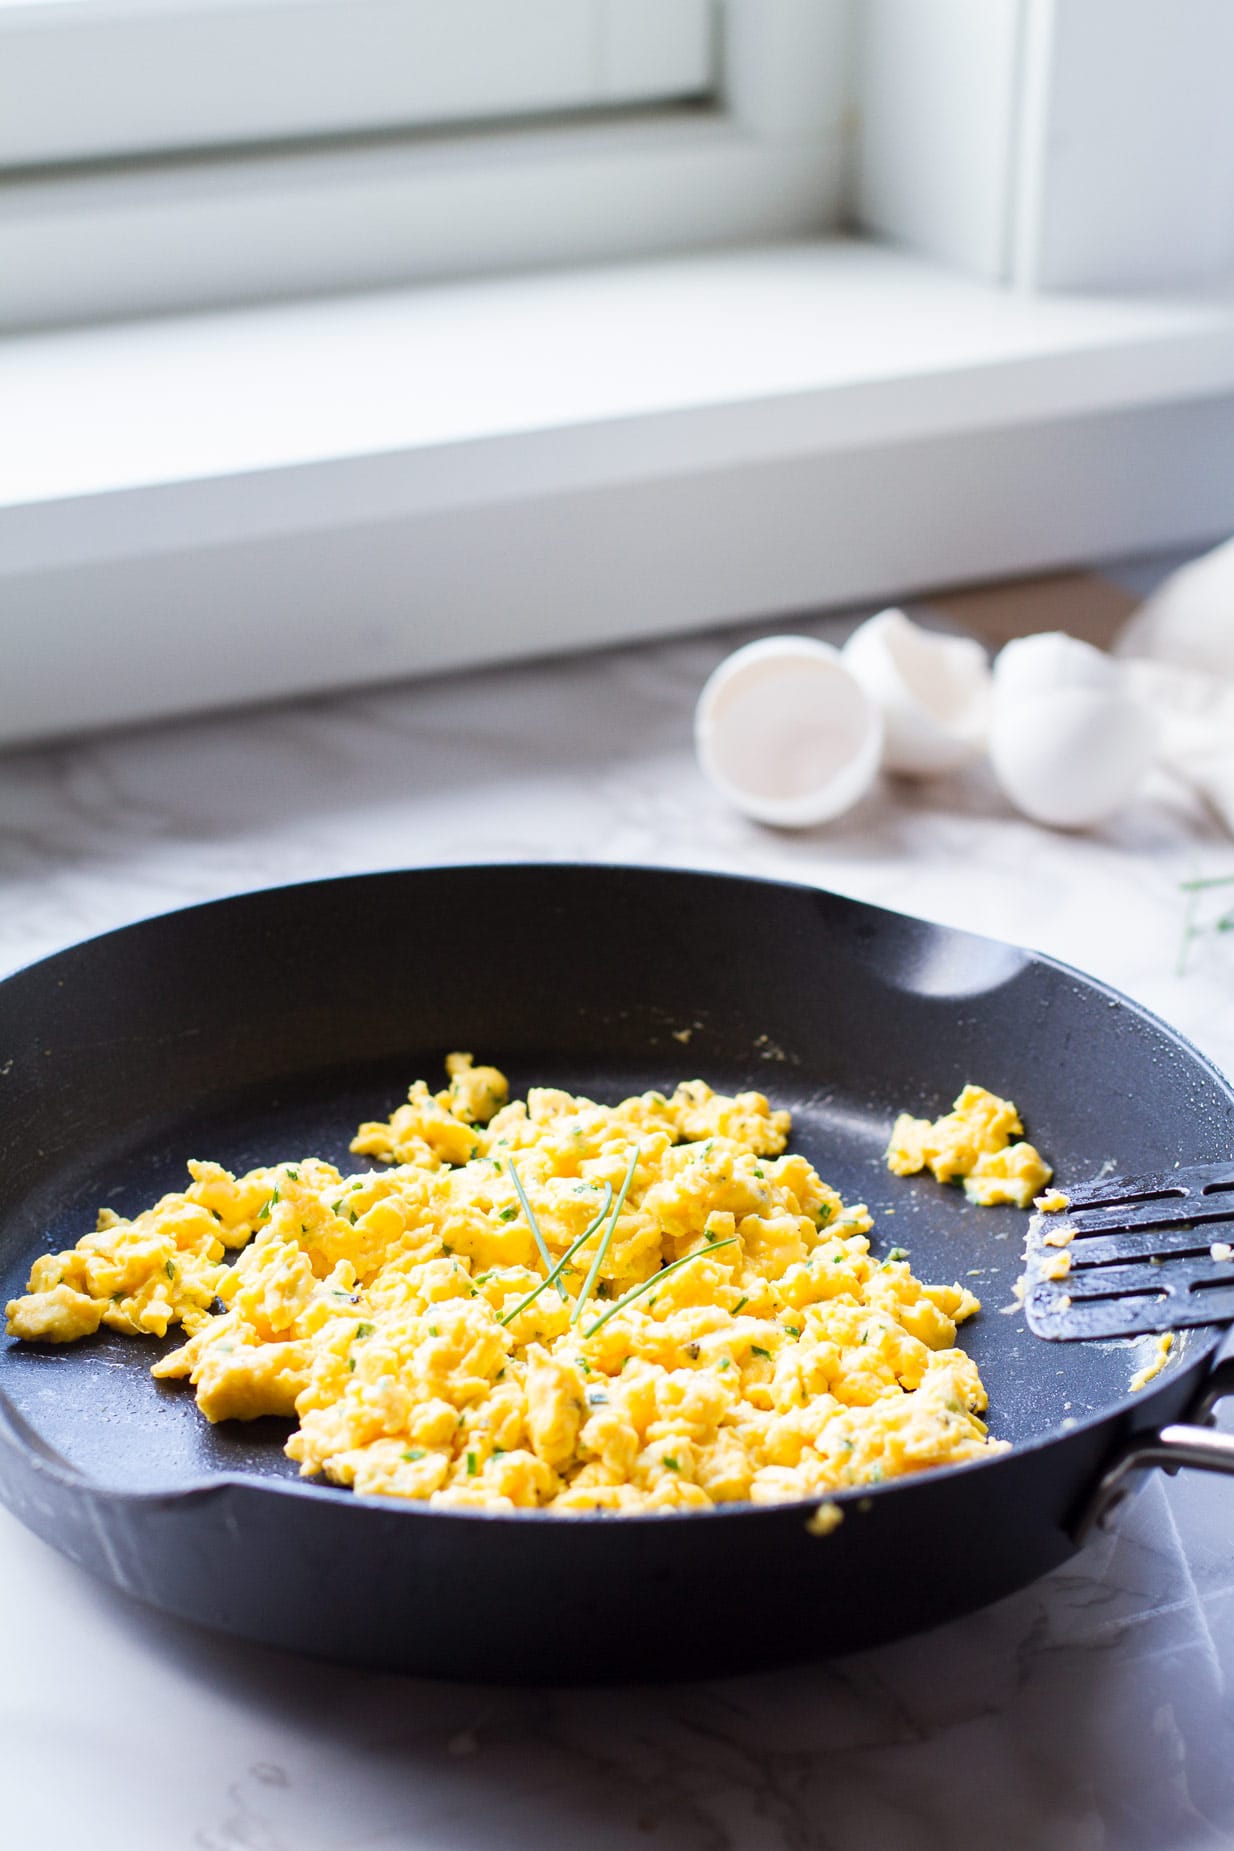
Heat a non-stick frying pan to medium and melt some butter in (yes, no oil here, the butter helps elevate the taste). Pour in the mixture.
Wait a few seconds and using a wooden spoon or spatula lift and fold the mixture from the bottom. Wait a few seconds more, and then fold again.
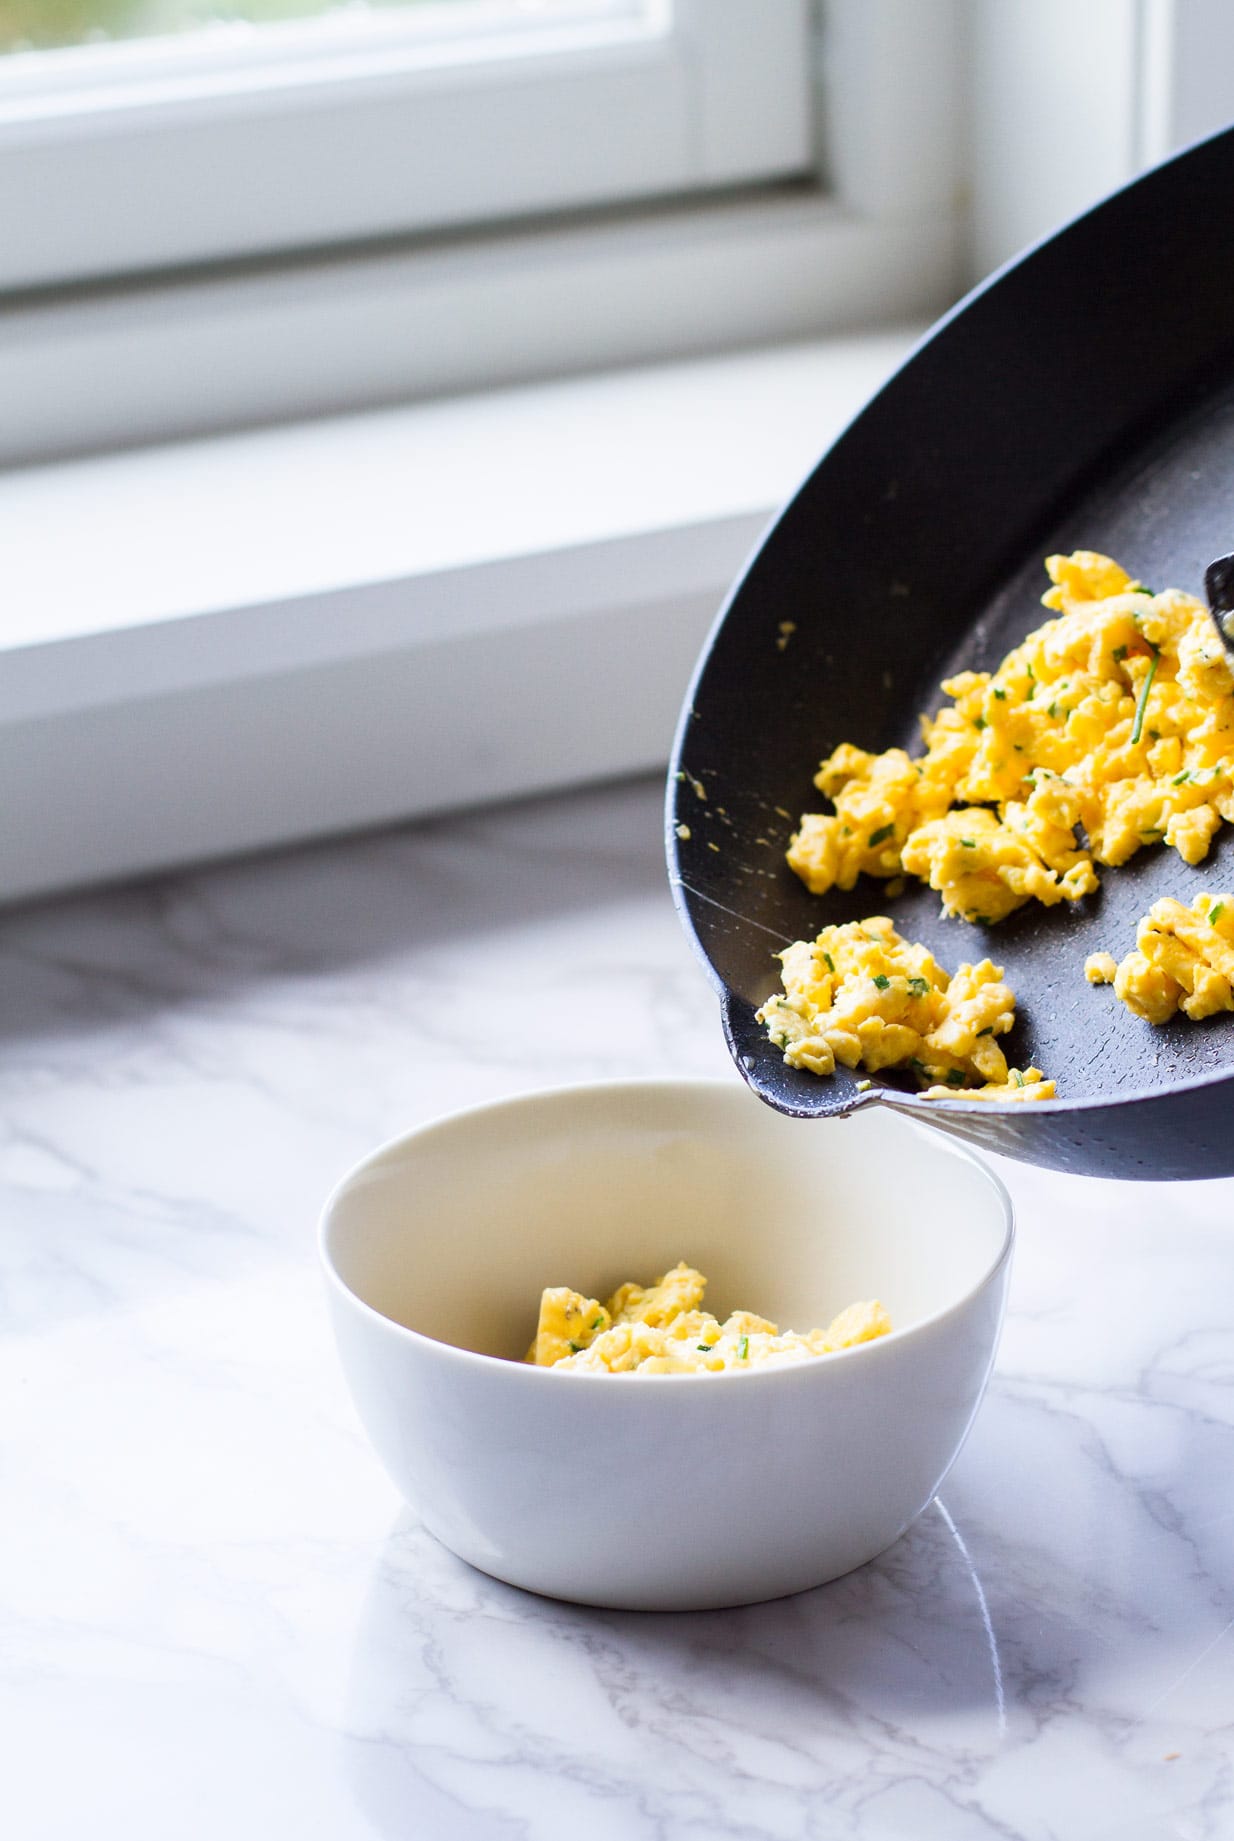
Continue this until the eggs are almost done (slightly runny in a few places), and then add in the grated cheese. Fold one more time and then they are done!
WITH EGGS WE NEED BACON: AN EASY WAY OF COOKING A LOT OF BACON
For that extra special breakfast, you need bacon. Bacon and eggs are like milk and cookies. Besties! And once I got the hang of bacon cooking, I actually enjoy it. Until some time last year, I always cooked bacon in a pan. A few strips at a time.
More often than not, the fire alarm went on, roaring through the entire house. I got bacon smell, bacon steam, and smoke everywhere, and I just didn't like it. The bacon also often went too crispy and even burnt because I suck at cooking bacon.
If you are like me, or just want to cook more bacon at a time. I have a clever tip for you: the oven bakes the bacon. It is darn easy, and darn tasty. You can do other things while they cook like these chives and cheese scrambled eggs!
Pre-heat your oven to 200C (400F) and prepare a baking sheet with parchment paper. Place all the bacon strips next to each other on the baking sheet. Bake in the oven for 15 minutes. More or less depending on the kind of bacon, start checking it at 12 minutes.
If you want to cook double the amount of bacon with the same time spent; it's equally easy. Just change the oven settings to 220C (430F) and to fan (Norwegian: varmluft).
This way the entire oven cooks evenly. Add parchment paper to another baking sheet and place another batch of uncooked bacon on it. Now you have two baking sheets of bacon, and just pop them in the oven and bake for the same amount of time (15 minutes).

Make sure you have some good bread on hand - again I'm recommending these whole wheat bread rolls. And we are ready to dig into this delicious little treat! Get your bread, spread with a little mayo (life is too short not to eat mayo), pour over the chives and cheese scrambled eggs, and serve with perfect anytime bacon!
Perfect to put on the special occasion breakfast table:
- Pumpkin Spice Latte
- Orange Hot Chocolate
- Lemon Blueberry French Toast Casserole
- Best Ever Easy Cinnamon Rolls
- Bakery Style Rhubarb Muffins
- Grapefruit Mimosa
I hope you'll like it! Let me know in the comment section below, or tag me @thegingerwithspice on Instagram. And don't forget to Pin it for later!

In order to keep the blog up and running this post contains affiliate links, it will be at no extra cost to you, please read the disclosure for more information.
📖 Recipe

Chives and Cheese Scrambled Eggs
You get a lot of flavor from garlic and chives and a velvety and creamy texture from the milk, butter and tiny bit of cheese. Enjoy as a special occasion or just because!
Ingredients
- 1 teaspoon butter
- 3 large eggs, high quality
- 2 tablespoon milk
- 2 tablespoon fresh chives, finely chopped
- ½ teaspoon garlic powder
- ½ teaspoon salt & pepper, each
- 4 tablespoon grated cheese, e.g. cheddar or Jarlsberg
- bacon, optional
Instructions
Chives and Cheese Scrambled Eggs
- You want high quality, large free range eggs. Crack them in a small bowl and whisk vigorously together. Add in a splash of milk, finely chopped fresh chives, salt, pepper and a little garlic powder. Wait with the cheese.
- Heat a non-stick frying pan to medium and melt some butter in (yes, no oil here, the butter helps elevate the taste).Pour in the mixture, wait a few seconds and using a wooden spoon lift and fold the mixture from the bottom. Wait a few seconds more, and then fold again. Continue this until the eggs are almost done (slightly runny in a few places), and then add in the grated cheese. Fold one more time and then they are done!
Oven Baked Bacon
- Pre-heat your oven to 200C (400F) and prepare a baking sheet with parchment paper. Place all the bacon strips next to each other on the baking sheet. Bake in the oven for 15 minutes. More or less depending on the kind of bacon, start checking it at 12 minutes.
- If you want to cook double the amount of bacon with the same time spent; just change the oven settings to 220C (430F) and to fan (Norwegian: varmluft). Add parchment paper to another baking sheet and place another batch of uncooked bacon on it. Now you have two baking sheets of bacon, and just pop them in the oven and bake for the same amount of time (15 minutes or so).
Nutrition Information:
Yield: 2 Serving Size: ½Amount Per Serving: Calories: 193Total Fat: 14.4gSaturated Fat: 6.7gCholesterol: 300mgSodium: 795mgCarbohydrates: 2.5gFiber: 0.3gSugar: 1.6gProtein: 13.8g
Nutrition information isn't always accurate, estimate for informational purposes only.
Evelyn Hernandez
Sunday 16th of September 2018
I love eggs, I could eat them all day. These look delicious and fluffy.
Stine Mari | Ginger with Spice
Monday 17th of September 2018
Eggs are my go-to breakfast or post workout food! Thank you so much.
Melanie @ Nutritious Eats
Saturday 15th of September 2018
Eggs and bacon are two of my favorite foods! This looks amazing with the addition of chives and cheese!
Stine Mari | Ginger with Spice
Monday 17th of September 2018
Mine too! Thank you so much!
Anna Hettick
Saturday 15th of September 2018
We eat a lot of scrambled eggs in our house and this recipe looks so good!!! I also love oven baking my bacon! I think it's less mess!
Stine Mari | Ginger with Spice
Monday 17th of September 2018
Thank you so much. And yes, I will never go back to frying bacon in a pan. This is so much easier!
Eryn
Saturday 15th of September 2018
Love the simplicity of this recipe but that it's still filled to the brim with flavor!
Stine Mari | Ginger with Spice
Monday 17th of September 2018
Thank you so much!
Kasey Ma
Saturday 15th of September 2018
MM looks like a super yummy way to start the day!
Kasey Ma ThestyleWright.com
Stine Mari | Ginger with Spice
Monday 17th of September 2018
Thank you so much!