

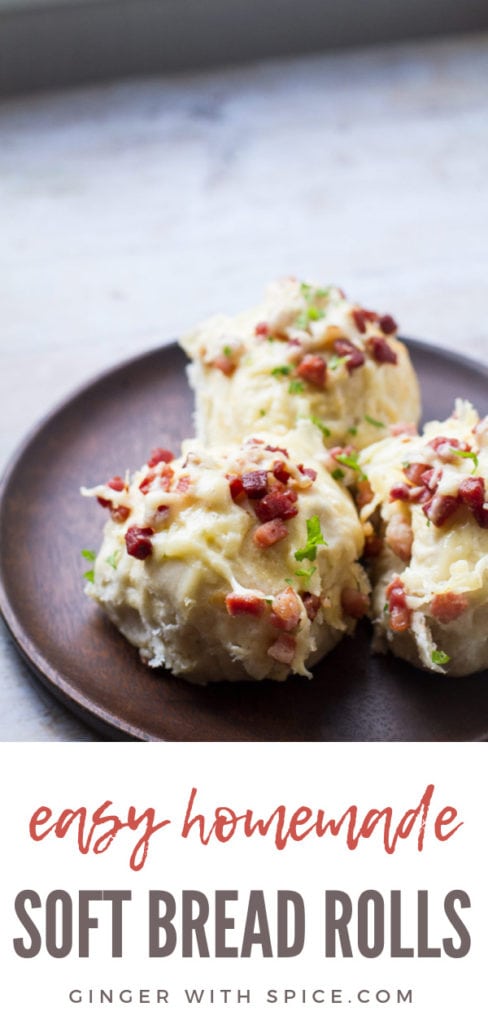


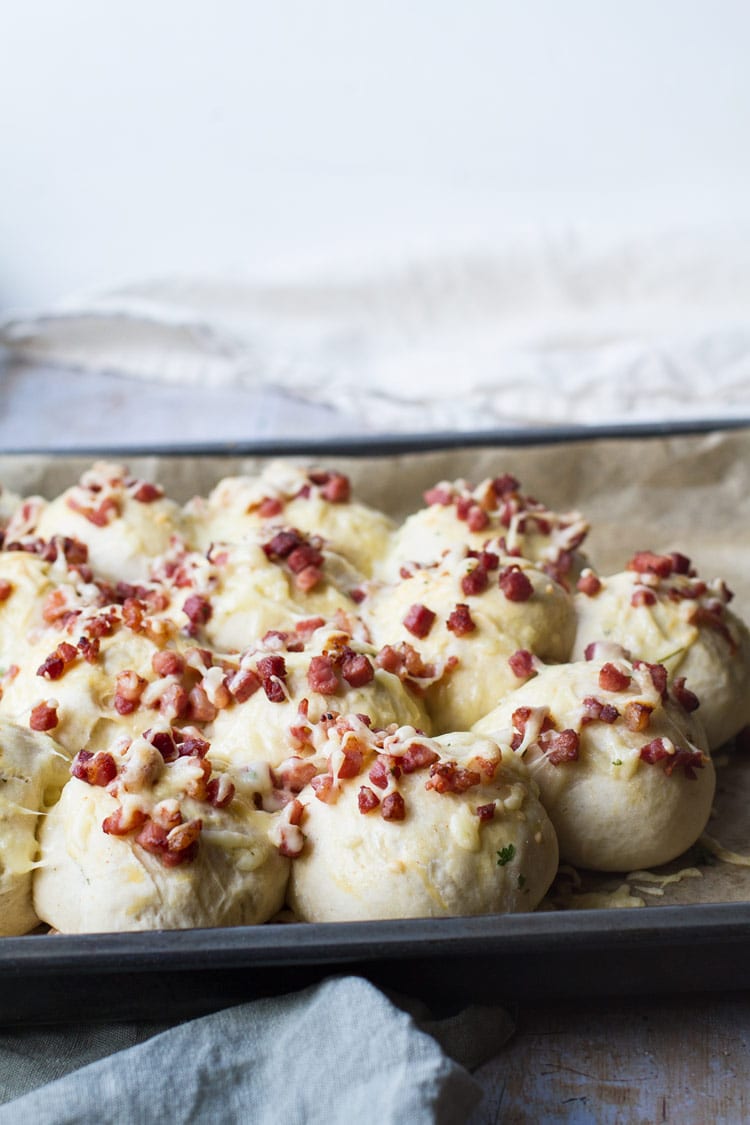
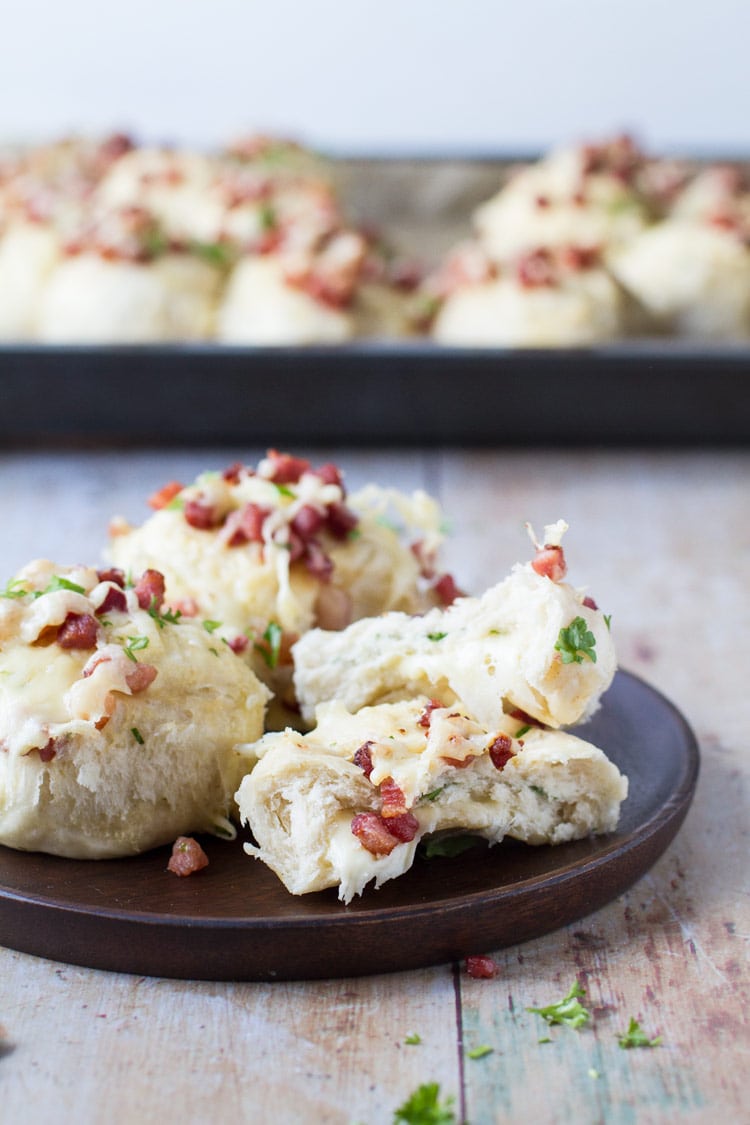
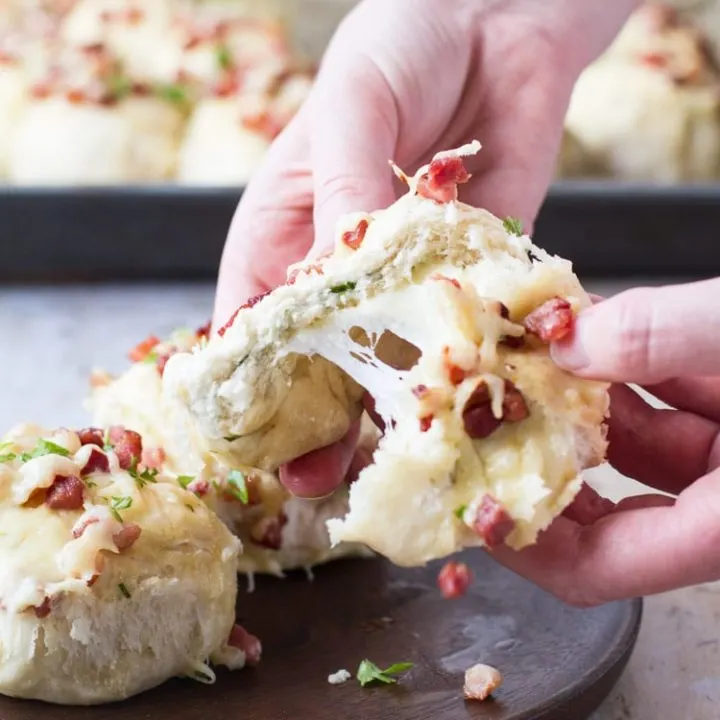
There is something special about homemade dinner rolls. These deliciously soft dinner rolls are topped with bacon and filled with ooey melty cheese, garlic and fresh parsley, making them the ultimate bread rolls!
Making the perfect bread rolls is easier than you think, and there’s no reason to be afraid of neither kneading nor the yeast. I’ll walk you through it all. If you however want to skip right to recipe, just click the button above.
Recipe Swapping Project
I have partnered up with Michelle over at Rustic Cooking with this recipe. I’m trying one of her recipes and she is trying one of mine. So while she is making my Cheesy Beef and Beef Enchiladas, I’m making her Cheese & Bacon Rolls. Looks like we’re both in the cheese game here!
Michelle has been a chef for 16 years and has recently started a food blog that focuses on rustic cooking - food doesn’t need to look like fine dining to taste like fine dining. She makes healthy food, or comfort food like these homemade dinner rolls, and she also provides a lot of tips and tricks in the kitchen.
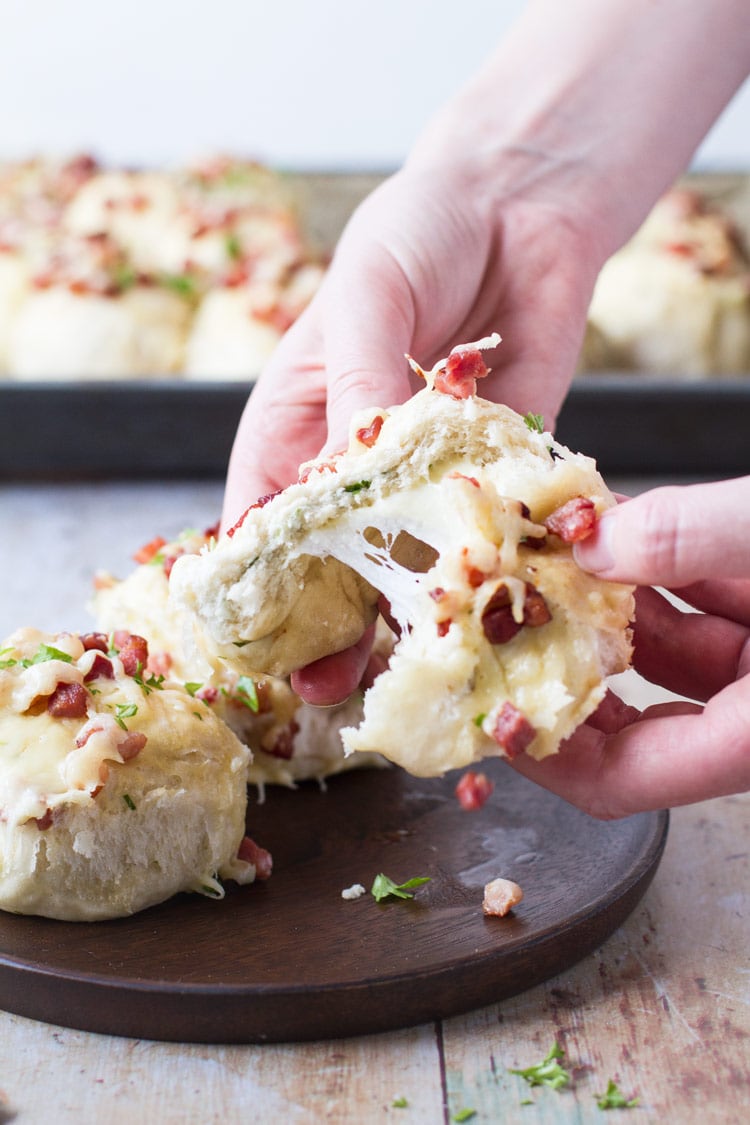
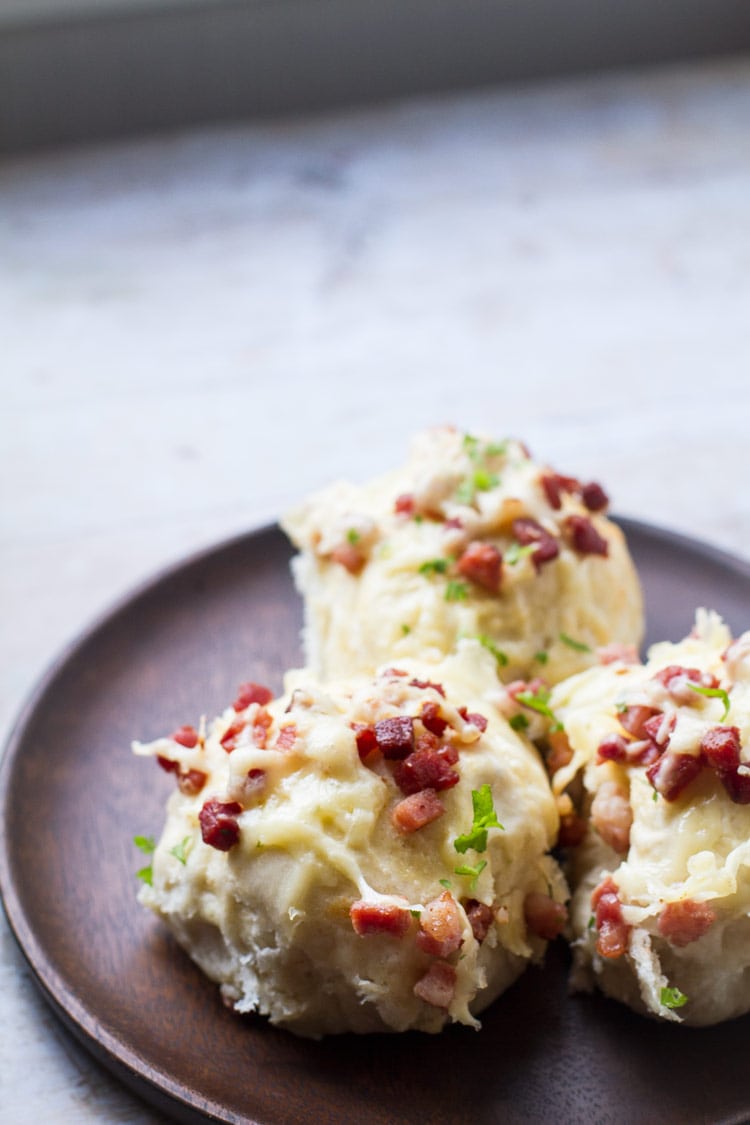
I’ve done just a few alterations in terms of flavor, but the overall essence is the same. These cheese bread buns are super soft and melt in your mouth. And the cheesy center will make any cheese lover happy.
Below I’m giving all my tips for making the perfect dinner rolls. Click the jump to recipe button above if you want to go directly to the recipe.
How to Make the Best Soft Dinner Rolls - The Easy Tangzhong Method
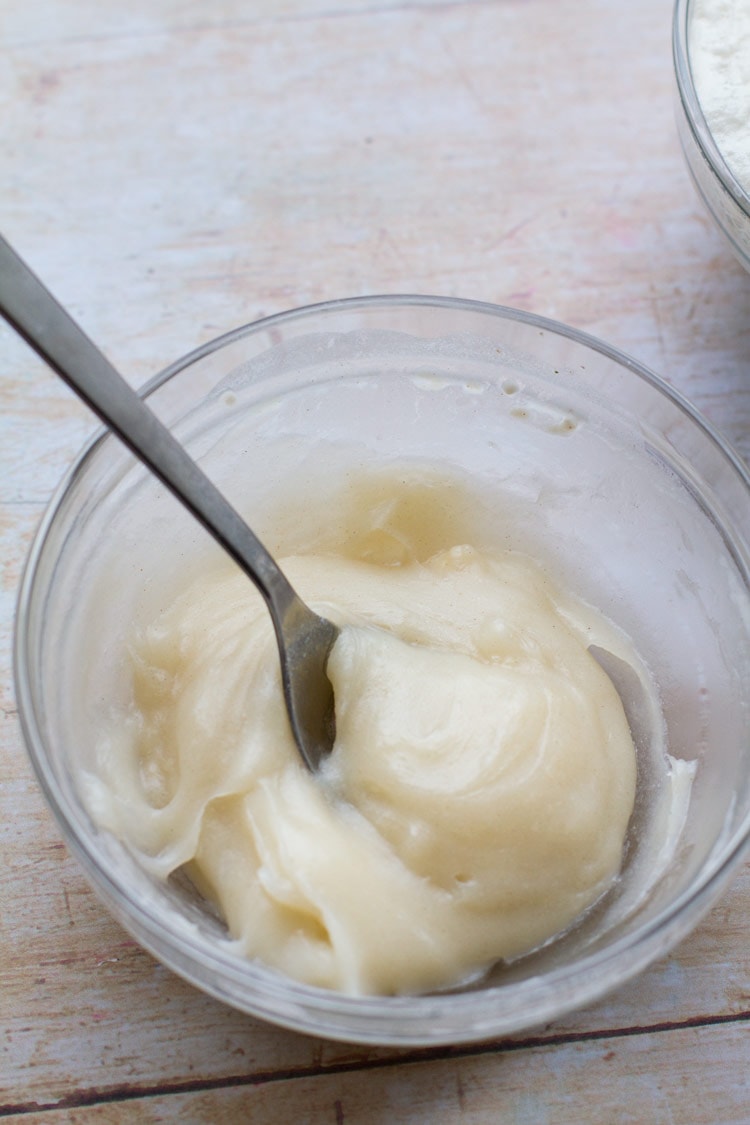
Dinner rolls are supposed to be light, buttery and soft. These are super soft thanks to a secret ingredient. Tangzhong is what makes these so soft, and it is literally just water and flour. It’s almost like a roux.
Tangzhong originates from Japan, but the word is Chinese. It is a way to add moisture and softness to dough that is actually super easy. 1 part flour and 5 parts water are heated up to a point where it becomes a strange, gooey paste (it happens at 150F or 65C but a thermometer isn’t necessary), stirred in intervals. Using tangzhong makes the bread stay fresher longer too.
The dough may be a little sticky, but don’t add more flour. It’s important to knead the dough long enough for the dough to absorb all the moisture from the Tangzhong, but other than that you can use the Tangzhong method in all types of dough recipes you want fluffy, soft and moist - which is all we want in these homemade dinner rolls!
Just a note that to make any bread recipe using the Tangzhong method, you need to reduce the amount of liquid and flour in the rest of the recipe. Tangzhong is instead of and not in addition to.
Can I Make These Gluten Free?
You can’t easily substitute gluten free flour in regular gluten recipes when it comes to yeast bread. I have not tried this recipe using gluten free flour, I’m not saying it’s impossible, but I would advise to use a recipe that is made as gluten free. However, GF Jules has many tips on baking and converting recipes to gluten free.
Can I Use Whole Wheat Flour in Homemade Dinner Rolls?
Yes! However, I would change the amount of flour to 4.5 cups instead, because whole wheat flour is denser and heavier than regular white flour. Whole wheat flour also needs more liquid, try adding 3 tbsp more of warm milk.
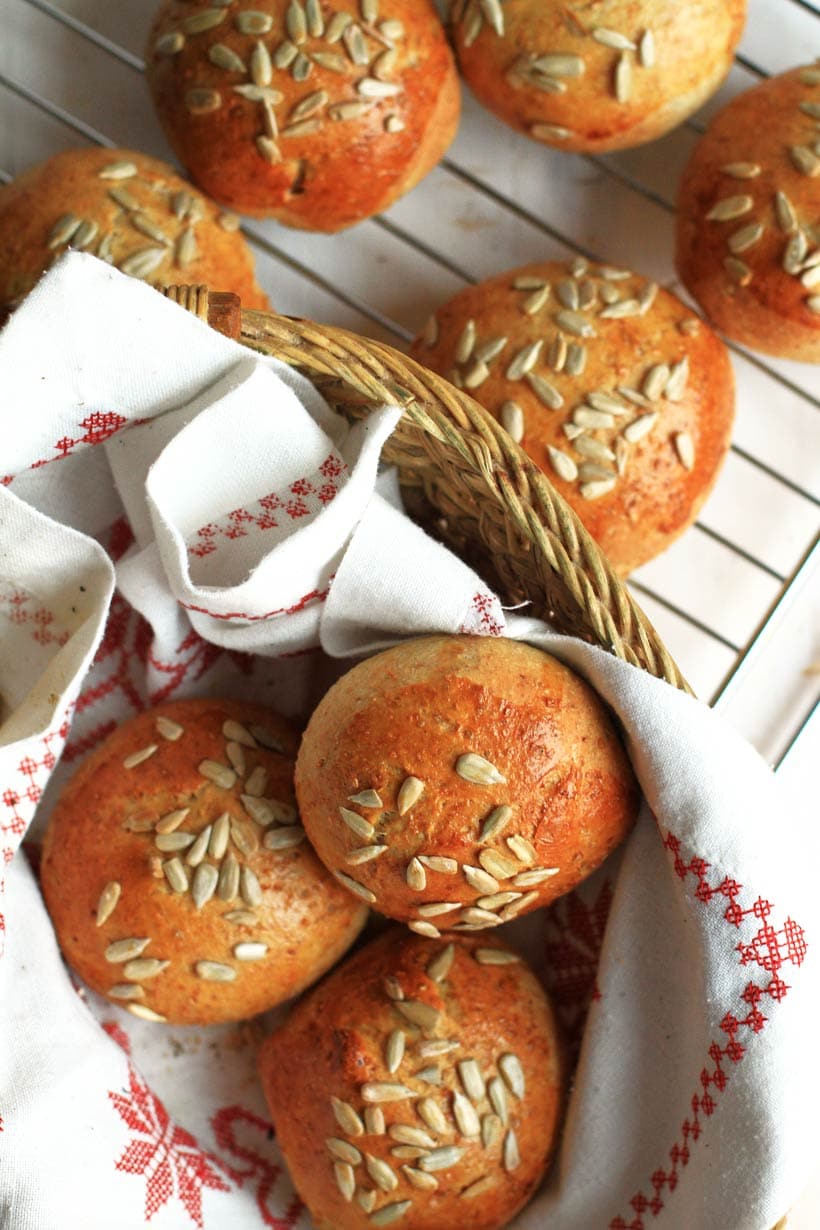
However, the best way to implement whole wheat flour into these bread rolls would be to do 50/50 whole wheat flour and white flour, like in these whole wheat bread rolls, to be sure the rolls will rise perfectly.
Also remember that dough that contains whole wheat flour may take longer to rise. As a general rule, rising is done once the dough is doubled in size. More on whole wheat flour here.
What About Different Kinds of Yeast
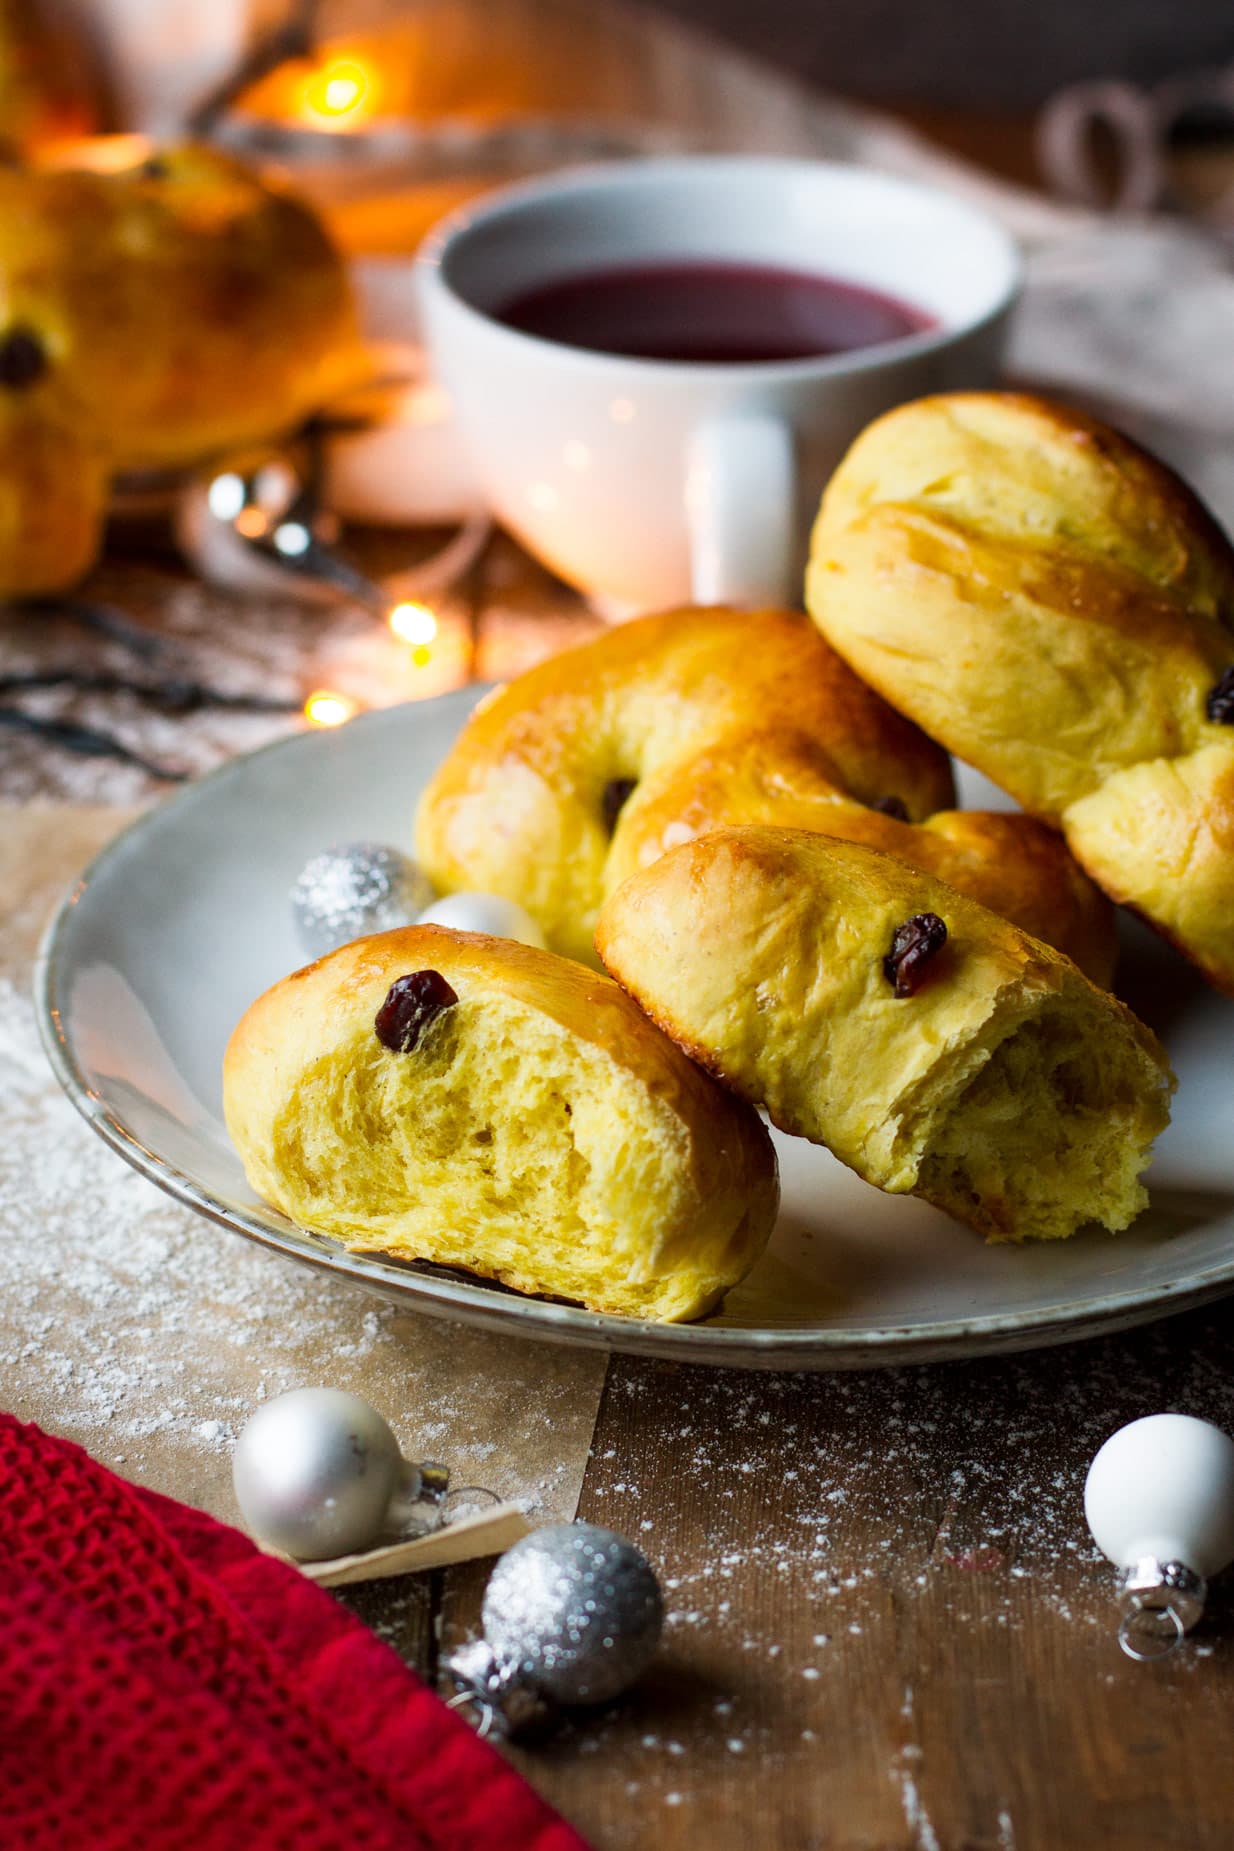
In my Scandinavian sweet buns, I talk about the differences in yeast. In that recipe I do prefer using fresh yeast, however you can still use all kinds of yeast if you just follow the guidelines.
In this recipe, I used instant dry yeast. Instant dry yeast can be added directly to the dry ingredients, without any liquid beforehand. So I believe step (2) below isn’t completely necessary here. However, if you use active dry yeast, then it is. Active dry yeast needs liquid to begin the process.
Also remember that sachets of yeast comes in different sizes in different countries, so this should be checked. For example 1 sachet of instant dry yeast in Norway, is two in the United States. In this recipe I used one Norwegian sachet of about 13 grams (US is 7 grams). 1 gram to and fro is nothing to worry about.
What About Kneading
Kneading is essential to give fluffy buns. You can either just use your hands and the counter, a hand mixer or a stand mixer. All should yield the same result (smooth and elastic) in the end, but different amounts of manual labor.
- Kneading by hand - sorry, I never do this, so labor intensive! However, you knead it for approximately 25 minutes, folding and pressing until the dough is smooth and elastic.
- Kneading with a hand mixer - this is my preferred way. With a hand mixer you still have the control of the dough as when kneading by hand. You get a feel of when the dough is ready and lets go of the sides of the bowl. In my sweet buns I knead for 10 minutes, these required a bit less, approximately 8 minutes.
- Kneading with a stand mixer - by far the easiest method! So if you’ve got a lot on your plate, just place it in a stand mixer and let it knead for about 8 minutes. You need to scrape the dough down from the edges sometimes, but that’s about it. Once the dough is sticky to the touch but the dough doesn’t stick to your finger, it is done.
Can I Make These Cheese and Bacon Rolls Ahead of Time?
Yes! You can either make the recipe from start to finish and then freeze them once they’re cool or they can proof (final rising) in the refrigerator over night. See paragraphs below.
Freezing Homemade Dinner Rolls
Once you want them, you can just take out the amount you need, and either thaw them on the counter overnight or heat in the oven.
I don’t usually like re-heating buns in the microwave because I like the slight crispy exterior, however, these are supposed to be ultra soft so you can just re-heat them in the microwave for 2-3 minutes.

When re-heating several at once you can also use the oven. Just heat it up to around 300F (150C) and place the frozen buns on a rack. Heat them for about 10-15 minutes, or until warmed through and cheese in the middle has re-melted (is that a word?).
Proof Homemade Dinner Rolls in the Fridge Overnight
This will ensure fresh buns with minimal effort the day you need them. You make the dinner rolls the day before, up until second rising, or proofing. Place the 16 rolls (with cheesy center) on a baking sheet with parchment paper, cover them with plastic and let them rise in the fridge overnight. No need to add the cheese and bacon on top just yet.
This is called kaldheving in Norwegian, or cold rising, but in English it’s retarding. Seriously? What a strange term! Anyway, what it does is that it just slows down the rising process but it’s still going to happen. Retarding also has its benefits, as the dough gets more flavor.
The next day, leave them on the counter for 30 minutes to come to room temperature. Meanwhile, you pre-heat the oven and half cook the bacon and shred some cheese.
What Kind of Cheese do I Use in Bread Rolls?
So I know I’m using some terms interchangeably here. I call them homemade dinner rolls, but also bacon and cheese rolls or garlic cheese bread. I just think a dear child has many names, you know, and seems like I'm struggling to choose.
So Michelle uses Colby cheese as a center in her cheese and bacon rolls, however, that is a cheese that is difficult to find in stores in Norway. You are very welcome to try that cheese, but I find both gouda and Monterey Jack to be amazing substitutes. If you’re in Norway, Jarlsberg would work wonderfully too. Literally any melty cheese that you find delicious is going to be delicious.
To summarize:
- Colby cheese
- Gouda
- Monterey Jack
- Jarlsberg
- Mozzarella
- Any melty cheese!
Homemade Dinner Rolls Variations
Dinner rolls can be made in endless variations, but here are a few examples:
- Ham rolls - change bacon for ham! You can even add ham inside along with the cheesy center.
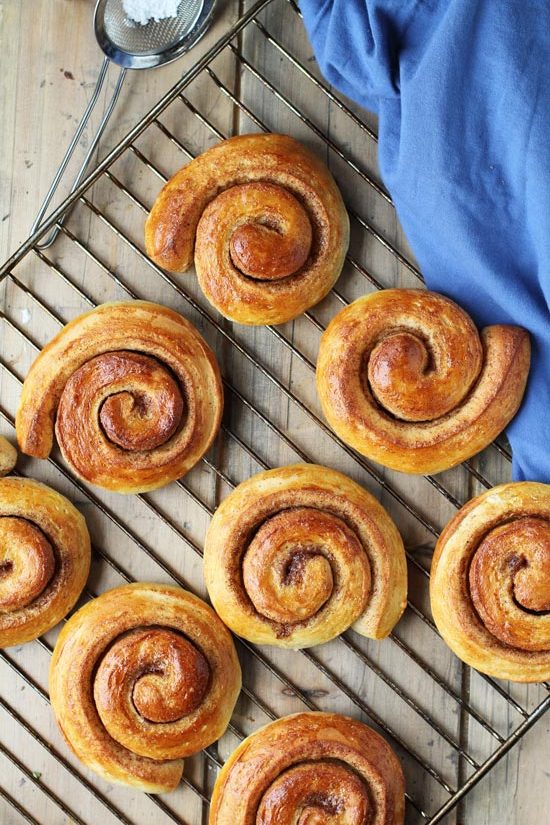
- Cinnamon rolls - add a little more sugar to the recipe. Before the proofing, you roll out the dough and spread butter, cinnamon and sugar on top. Roll up and cut into 16 rolls. Or you can follow this cinnamon roll recipe.
- Whole wheat rolls - see paragraph on whole wheat in these above.
- Garlic cheese bread (like this recipe)
- Use other herbs like rosemary, basil or thyme.
The Recipe: Homemade Dinner Rolls with Cheese and Bacon
We’ve now covered all the basics of bread baking, and I hope you feel equipped to make the greatest breads and buns!
The Tangzhong
Begin with making the Tangzhong, or the roux. Combine ½ cup water and 3 tablespoon flour in a microwave safe bowl. Heat in the microwave, stopping at 30 seconds interval to stir. Continue until it becomes a paste (about 2 minutes) (1). Set aside to cool.
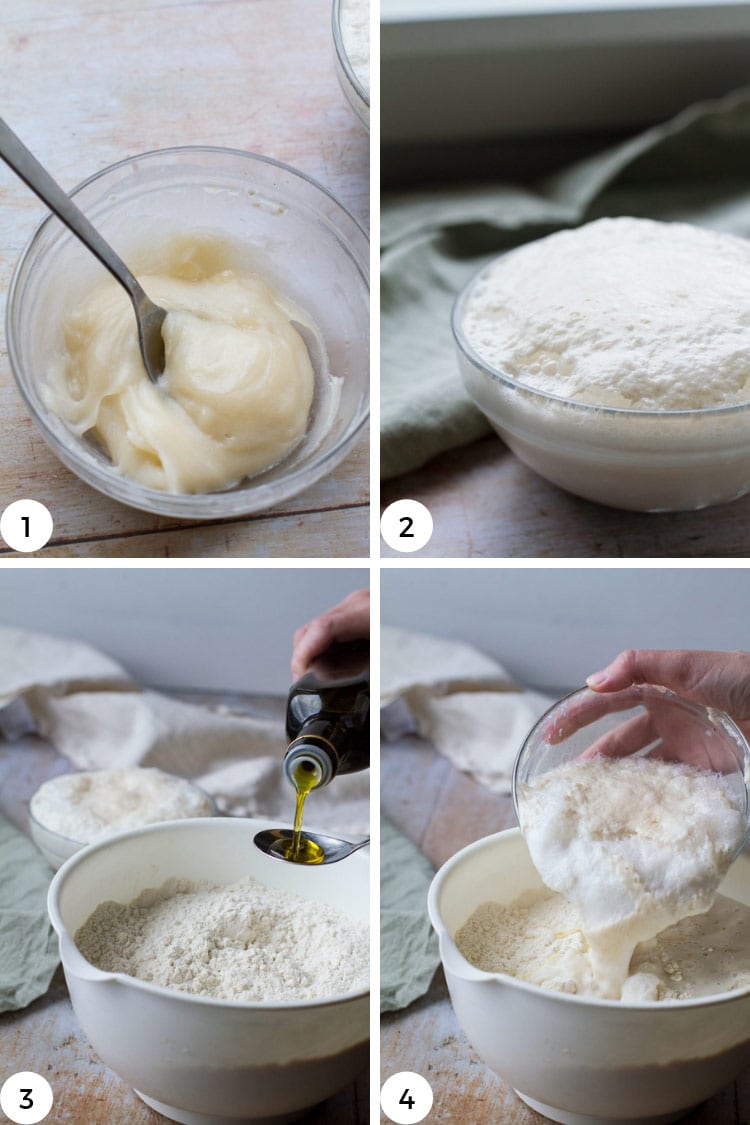
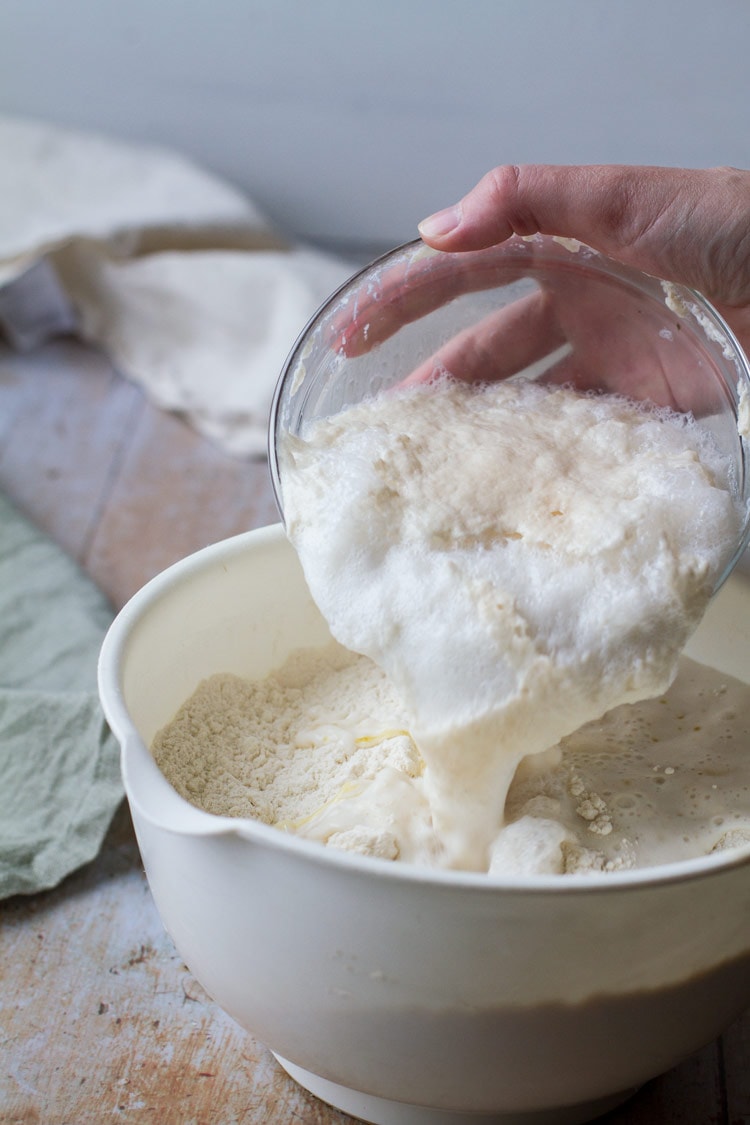
In a separate bowl, combine warm water and milk (heated to about 100F/38C or lukewarm), sugar and yeast. Allow this to sit for at least 5 minutes or until the yeast has risen and making a layer of white foam over the liquid (2).
In another bowl, mix together the dry ingredients - flour, garlic powder and salt. Add olive oil (3), yeast mixture (4) and Tangzhong (5) to the dry ingredients. Stir together and then knead for about 8 minutes in a stand mixer or using a hand mixer.
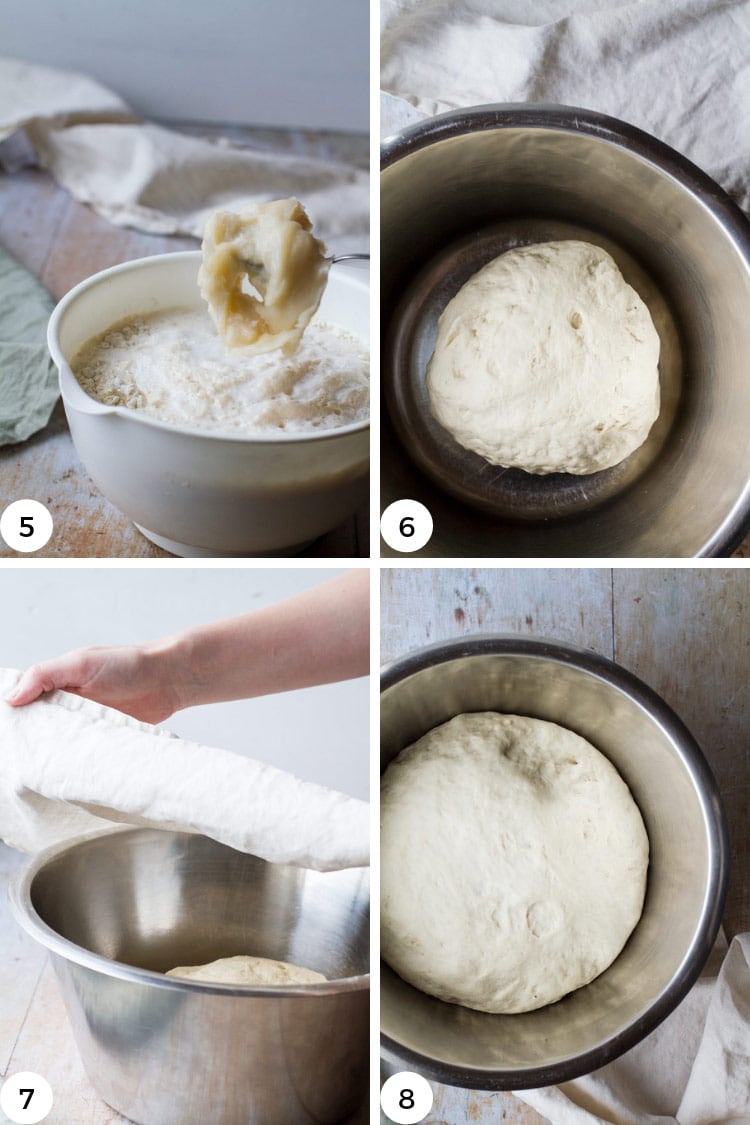
First Rise
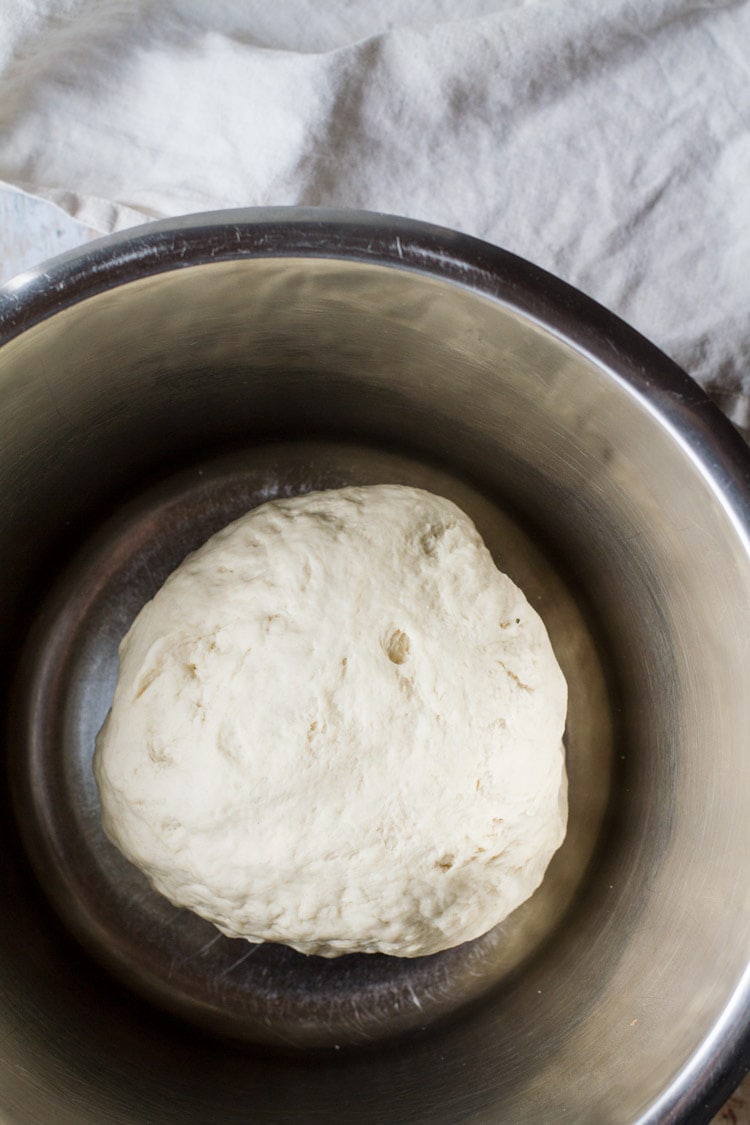
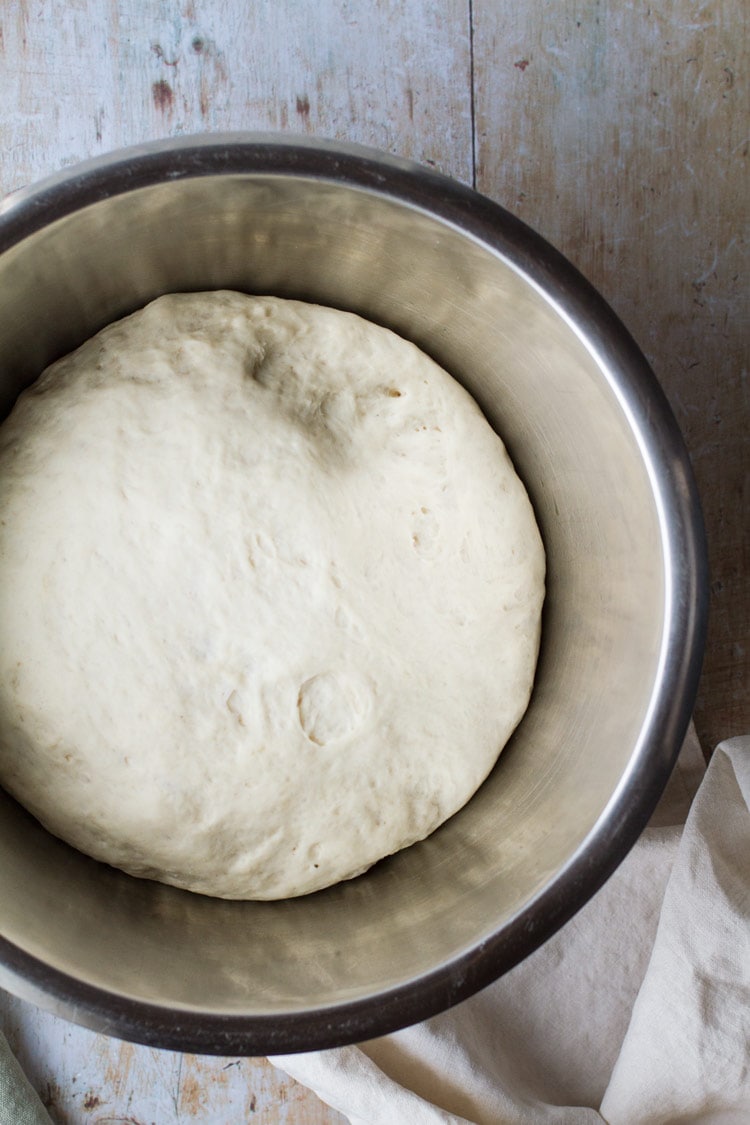
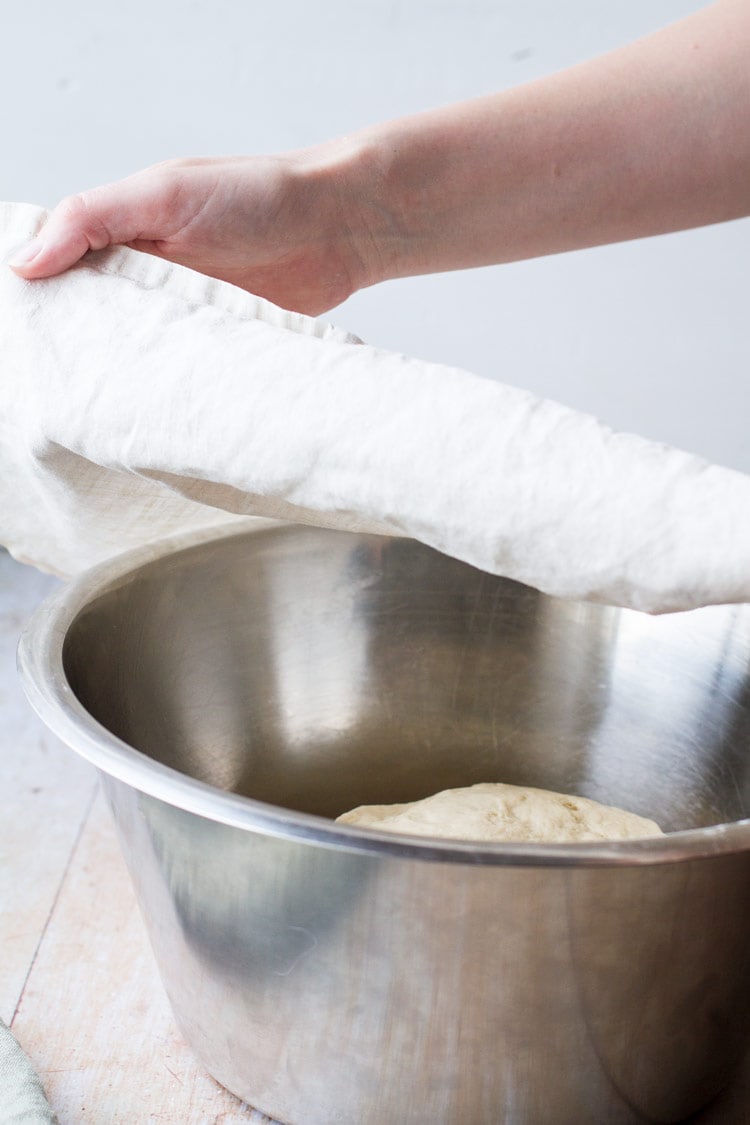
If you use a stand mixer you may need to scrape the dough down from the sides of the bowl. The dough is done when it’s smooth and elastic and pulls away from the sides of the bowl (6). Sticky to the touch but dough doesn’t stick to your finger when you press it. Cover the dough (7) and let it rise on a warm place, until doubled in size, approximately 1 hour (8).
Second Rise
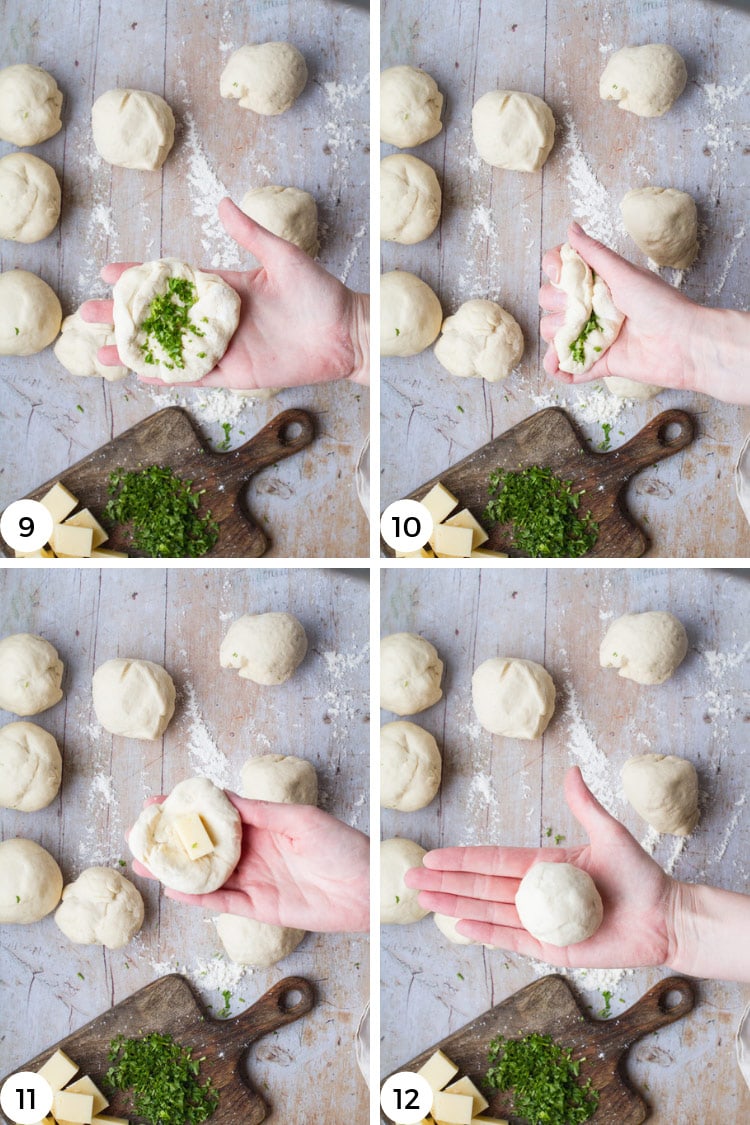
Once risen, divide the dough into 16 balls. Place a large pinch of fresh parsley into each bun and press together (9-10), then you add a piece of cubed cheese and slightly roll it to make a ball (11-12).
Place the 16 balls tightly together on a parchment lined baking sheet. Let them proof (rise a second time) until doubled in size, about 30-60 minutes.
Bake
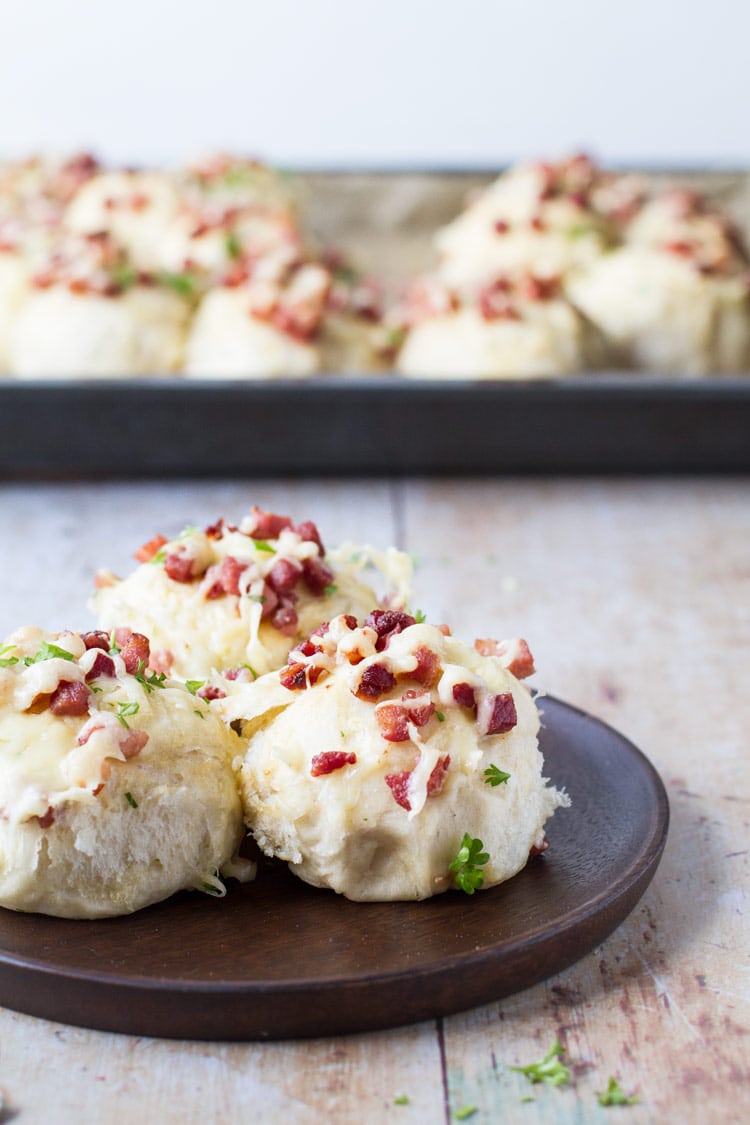
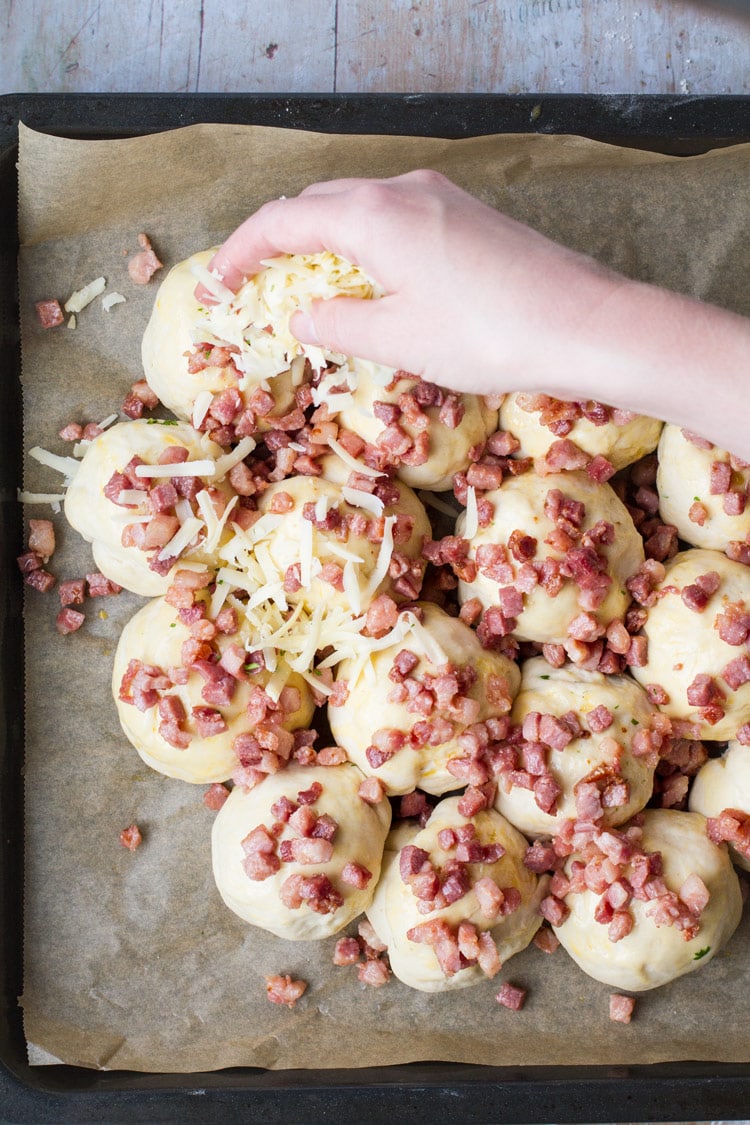
This is the time to pre-heat the oven to 350F (180C). Cook bacon until light pink, but not completely done. Lightly brush each bun with a beaten egg. Cover with the cooked bacon and shredded cheese.
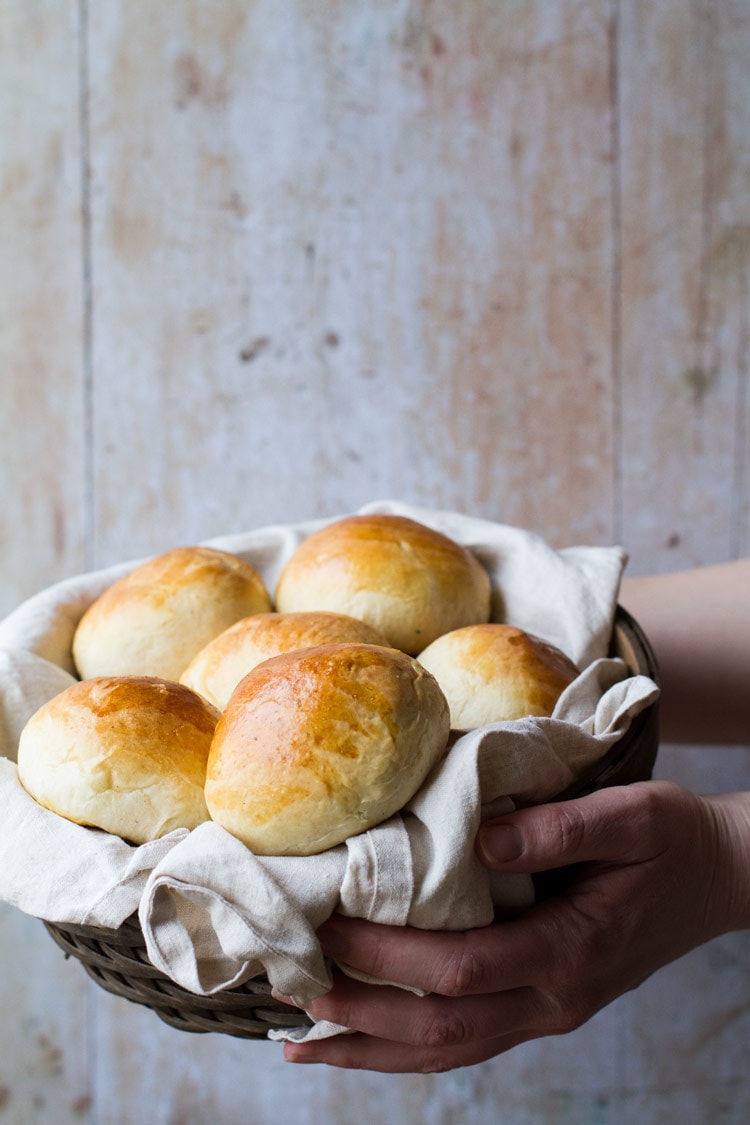
Bake for about 25 minutes. Best eaten while they are a little warm! I like to serve it with soup, like this coconut curry carrot soup or butternut squash soup.
More Bread Recipes:


I’d love to hear your thoughts. Comment below or tag me @thegingerwithspice on Instagram. And don’t forget to Pin it for later!
In order to keep the blog up and running this post may contain affiliate links, it will be at no extra cost to you, please read the disclosure for more information.
📖 Recipe

Homemade Dinner Rolls with Cheese and Bacon
These deliciously soft homemade dinner rolls are topped with bacon and filled with ooey melty cheese - making them the ultimate bread rolls!
Ingredients
Tangzhong
- ½ cup water, 125 milliliters
- 3 tablespoons flour
Dinner Rolls
- ½ cup milk, 125 milliliters
- 1 cup water, 250 milliliters
- 3 teaspoons sugar
- 14 grams dried yeast, 2 US sachets (1 Norwegian)
- 6 cups flour, 770 grams
- 2 ½ teaspoon salt
- 1 ½ teaspoon garlic powder
- 2 tablespoons olive oil
- 1 egg, for brushing, may also use milk
Filling & Topping
- 3 tablespoons chopped, fresh parsley
- 5 ounces gouda cheese, 16 equal cubes. 150 grams (can also use Jarlsberg, Monterey Jack or Colby)
- 10 ounces bacon, 300 grams
- 3 ½ ounces mozzarella, 100 grams (can also use Jarlsberg or Monterey Jack)
Instructions
The Tangzhong
- Combine ½ cup water and 3 tablespoon flour in a microwave safe bowl. Heat in the microwave, stopping at 30 seconds interval to stir. Continue until it becomes a paste (about 2 minutes). Set aside to cool.
The Dinner Rolls
- In a small bowl, combine warm water and milk (heated to about 100F° (38C°, lukewarm), sugar and yeast.* Allow this to sit for at least 5 minutes or until the yeast has risen and making a layer of white foam over the liquid.
- In another bowl, mix together the dry ingredients – flour, garlic powder and salt.
- To the dry ingredients, add olive oil, yeast mixture and Tangzhong. Stir together and then knead for about 8 minutes in a stand mixer or using a hand mixer. If you use a stand mixer you may need to scrape the dough down from the sides of the bowl. The dough is done when it’s smooth and elastic and pulls away from the sides of the bowl. Sticky to the touch but dough doesn’t stick to your finger when you press it.
- Cover the dough and let it rise on a warm place, until doubled in size, approximately 1 hour.
- Once risen, divide the dough into 16 balls. Place a large pinch of fresh parsley into each bun and press together, then you add a piece of cubed cheese and slightly roll it to make a ball.
- Place the 16 balls tightly together on a parchment lined baking sheet. Let them proof (rise a second time) until doubled in size, about 30-60 minutes.
- Meanwhile the dinner rolls are proofing, pre-heat the oven to 350F° (180C°). Cook bacon until light pink, but not completely done. Lightly brush each bun with a beaten egg. Cover with the lightly cooked bacon and shredded cheese.
- Bake for about 25 minutes or until golden and cooked through. Cool on a wire rack. Best eaten while they are a little warm! I like to serve them with soup, but alone is also really good.
Notes
Leftovers: These are fantastic to freeze. Once completely cold, add them to a freezer friendly plastic bag and freeze. Good for several months. You may thaw them on the counter and then gently re-heat in a 300F (150C) oven for a few minutes just to make the cheese melty.
Nutrition Information:
Yield: 16Amount Per Serving: Calories: 329
Kate
Tuesday 22nd of March 2022
This recipe is a great twist on the normal cheese and bacon roll. Unfortunately you forgot to put the oil volume in your recipe so I’m going to just guess.
Stine Mari | Ginger with Spice
Tuesday 22nd of March 2022
Thank you so much for pointing that out, Kate! I hope your buns turned out the way they should. It should've been 2 tbsp olive oil. I have now updated the recipe card!
Lathiya
Wednesday 17th of July 2019
I love homemade foods than going for storebought. These dinnerrolls looks amazing with those cheese and bacon.
Stine Mari | Ginger with Spice
Tuesday 23rd of July 2019
Thank you, Lathiya! If I can make it at home, I'd rather do so. Especially if it's as easy as these.
Ashley Judd
Wednesday 10th of July 2019
Can’t wait to try these rolls, thanks for this recipe
Stine Mari | Ginger with Spice
Tuesday 23rd of July 2019
Thank you!
Jacqueline Debono
Monday 8th of July 2019
I have never made my own dinner rolls but you make it look pretty doable! Plus I love the idea of making them with cheese and bacon! They look so delicious!
Stine Mari | Ginger with Spice
Tuesday 23rd of July 2019
Thank you so much for your kind words!
Kacie
Monday 8th of July 2019
I love the idea of recipe swapping and this cheese and bacon Brad looks insanely good - check out that cheese pull - wow!
Stine Mari | Ginger with Spice
Tuesday 23rd of July 2019
Thank you so much, Kacie! It was a fun project, switches things up a little. :)